Features
In an effort to better showcase service bureau abilities, there is a Features section in ReadyPay Online (RPO). This section allows the service bureau to create features to showcase to clients, and it allows clients to see them and have the ability to request them.
Setup
All setup screens are available in RPO from the Features menu under the System section. Features are able to have different levels of service, just like ReadyPay services. Each feature or feature level can be linked to a service or it can be standalone. To better separate features, they are located under a feature group which helps group the features.
Feature Groups
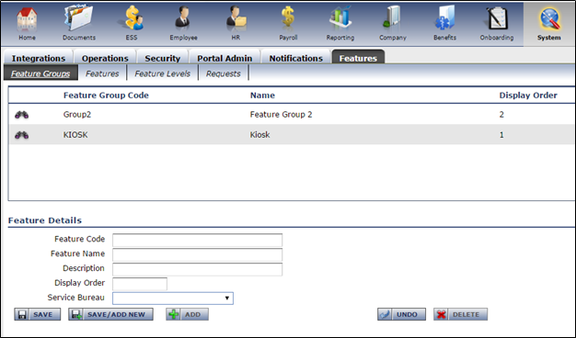
Feature groups are managed like other items in RPO — a grid to show current items and a form below for input. There is just some basic information required for setup.
- Feature Code – up to 10-character code to identify the feature group
- Feature Name – a short name indicating the name of the feature
- Description – a more descriptive explanation of the features under this group
- Display Order – the order it will be displayed on the page
- Service Bureau – to limit a particular feature group to companies of a specified bureau, specify it here
Features
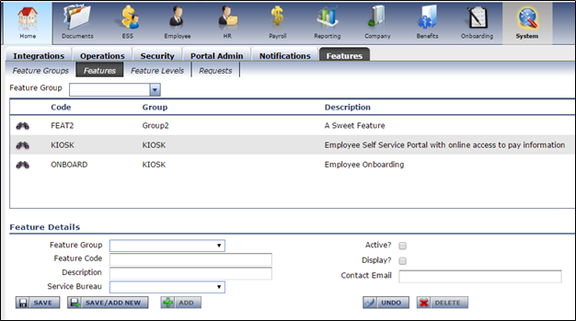
Features are the next level. These are on the same line as a service in ReadyPay. Each feature created will be assigned to a feature group.
- Feature Group – the group the feature should be listed under for display on company screens
- Feature Code – up to 10-character code to uniquely identify the feature
- Description – a more descriptive explanation to display to clients
- Service Bureau – to limit a particular feature to companies of a specified bureau, specify it here
- Active – determines if the feature is current and available for request
- Display – used to indicate whether it should display on the client screens
- Contact Email – an email specified here will be used to send a message to an employee (e.g., salesperson) that there was a request for a specific feature. They can then contact the client.
Feature Level
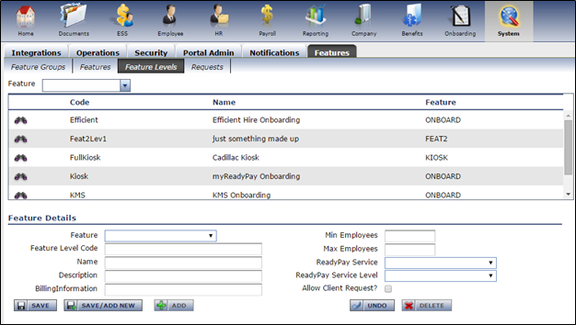
Feature levels can be thought of on par with service levels in ReadyPay.
- Feature – each feature level is linked to a feature
- Feature Level Code – up to 10-character code to uniquely identify the feature level
- Name – a name for the level
- Description – a more descriptive explanation of the level
- Billing Information – an area where billing information for a level can be specified should you decide to show that to a customer
- Min Employees / Max Employees – a range of employees the company should have for the feature level to be displayed to them
- ReadyPay Service / ReadyPay Service Level – if a feature is tied to a ReadyPay service, that information can be specified here
- Allow Client Request – specifies whether a client can request it (currently not implemented; could be in future or removed)
Feature Request
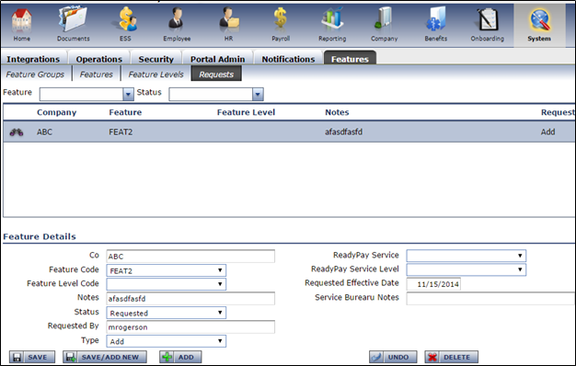
After a client makes a request for a feature, an email can be sent to a contact (see Feature section above). This user can then log in to RPO and see all requests pending for different features. The user can then take any necessary steps to get the feature set up for the client. After determining needs with the client, the user can/should then change the following information:
- Feature Level Code – after determining with the company what is most appropriate, the level can be selected
- Status – can be set to Review to let others know it is being looked at. When the feature is going to be added, this should be set to Complete. By switching to complete and saving, it will create the feature record for the company.
- Type – this shows the type of request for the feature. This can be Add or Remove.
- ReadyPay Service / Service Level – can be set to specify what is going to be set up for the client, if anything
- Service Bureau Notes – notes only seen by service bureau employees which pertain to the request, if any
After a request is switched to Complete status, the feature record is created indicating the company now has the feature.
Company Feature Request
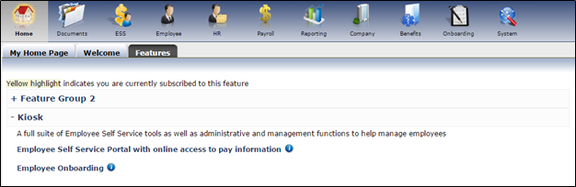
An RPO client will have access to a list of features from their home screen under the Features tab. Each group specified in setup will have an expand/collapse section on this page that lists all the features. Immediately under the grouping header is the Description text specified during the Feature Group setup. Each Feature record will be listed under the group with the Description of the feature being displayed. The i info icon is used to display the feature request form. If the company already has the feature, the entire row will be highlighted in yellow to indicate that.
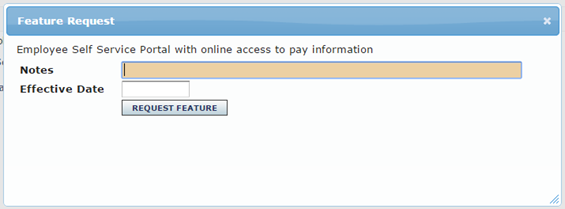
If the company does not have a feature, they will be prompted with the request form after clicking the info icon. They can specify notes for the service bureau and a date they would like the feature active. Clicking the Request Feature button will notify the contact of the feature (if the email address was specified during setup).
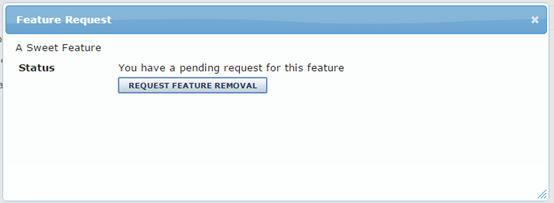
If the company has already made a request for this feature, the dialog will inform them of that and allow them to withdraw their request. Or if they already have the feature, it will allow them to request it be removed from their account.
Questions?
Contact your Payroll Service Provider.