Employee: Employee | Custom Forms
Use of Custom Forms is optional.
Custom Forms are created using the tab called Custom Form Tabs found in Master Company Setup in ReadyPay Desktop.
For information on creating and maintaining Custom Forms, click here.
In RPO, access to Custom Forms is provided only when Custon Tabs are setup on the company.

If no Custom Tabs are set up, there is no reference to them in the Employee Section of RPO,

A company can have one or many Custom Forms. Click the option titled Custom Forms to access them.
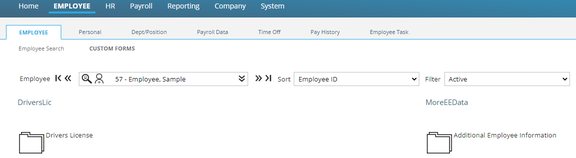
Click on the Folder Icon next to the Custom Form name to display the contents.

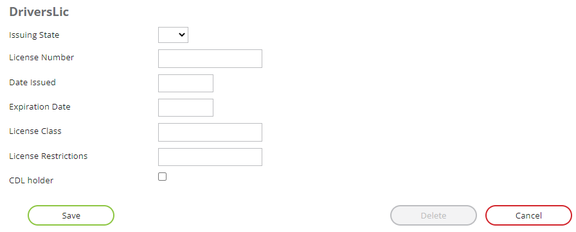
Populate the provided fields and click Save to create a new entry.
Update individual fields to modify an existing entry. Click Save when completed.
The Delete Button is active only if entries exist on the employee.
Use the Cancel Button to undo any unsaved entries.