Local API Setup
ReadyPay Online comes bundled with a local, Generic API. The API is used in some ReadyPay Online features (e.g., Applicant Tracking). This same API can be used to develop your own 3rd party integrations. This article covers how to set up the local API in your environment.
If you want to use the Generic API to create your own integrations, see the Local API Integrations article.
Step 1 — Set up the API Authorization Server
Create a new secure SSL site (apiauth.yourdomain.com should ideally
be used for the binding) pointing to the APIAuthorizationServer
folder created during installation. During the install you may put this
folder wherever you wish.

- Modify the connection string in
EnvironmentConnectionStrings.configto point to the same database as your RPO install. - Modify the settings in your
AppSettings.configfile by setting the issuer to the URL created in step 1. Do not modify the secret value, and once ready to roll out into a production environment make sure thatAllowInsecureHttpis set tofalse.

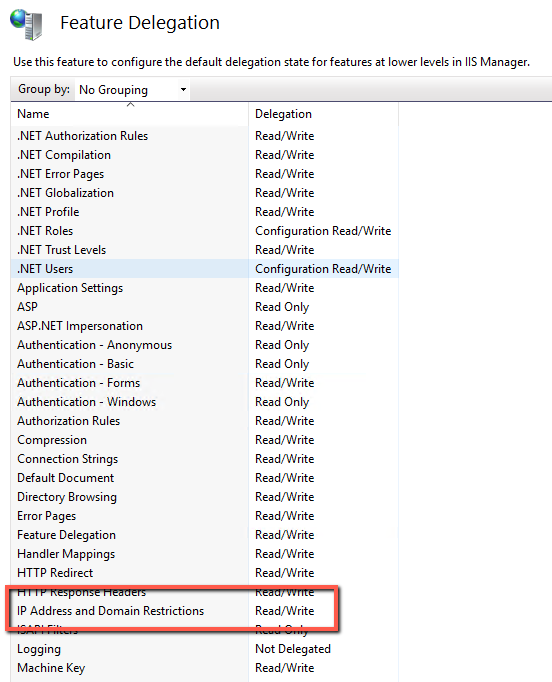
Confirm that the IP Address and Domain Restrictions property in IIS (configured on the server level, not site level) is set to read/write as follows:
Step 2 — Set up the API Resource Server
Create another secure SSL site (api.yourdomain.com should ideally be
used for the binding) pointing to the APIResourceServer folder
created during installation. During the install you may put this folder
wherever you wish.

Select the API Resource Server Site. Click IP Address and Domain Restrictions. Click Edit Feature Settings. Set "Access for unspecified clients" to Allow. Click OK. If this step is skipped you will encounter a 503 Forbidden error message.

-
Modify the connection string in
EnvironmentConnectionStrings.configto point to the same database as your RPO install. -
Modify the issuer in your
AppSettings.configfile by setting it to the same URL created in API Authorization Server — Step 1. The secret value must remain exactly the same as that contained in the Authorization ServerAppSettings.config. -
Modify the
IPFiltering.configto allow access to swagger (a testing site) from your IP address. An example entry:<add allowed="true" ipAddress="127.0.0.1" /> -
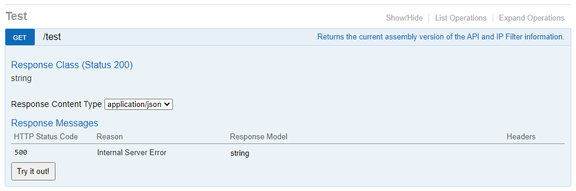
Browse to your website created in step 1 with the swagger path, for example:
https://api.yourdomain.com/swagger/ui/index.Try running a Test Get method by clicking Try it Out.
Questions?
Contact your Payroll Service Provider.