Employee Maintenance: LOA
Use the LOA tab to record information for any Leave of Absences taken by an employee.
Use of this tab is optional. Any data saved here is informational and does not affect the calculation of payroll.
Before using this tab, you must populate the company level Leave of Absence Codes table.
This table is found under the Misc Tab of Company Setup.
For instructions on setting up the Company level Leave of Absence Codes,
click here.
Adding a Leave of Absence entry
Click the New (*) Button.
A box listing the company level LoA Codes will display.

Select the appropriate code.
The cursor moves to the Code Field on the Info Sub Tab
The Code field is populated by your selection.
The description field is populated with the Description from the selected company level LoA Code.

| Field Name | Information |
|---|---|
| Code | Select a different code from the Drop List if the code initially selected is incorrect. |
| Description | If you change the code, the Description field will need to be updated manually. |
| Leave Date | Start Date of the leave |
| Return Date | Return Date of the leave |
| Paid | Check if the leave is paid. |
| Expected Return | Enter a date if different from the Return Date value. |
| Notes | Use the freeform text field to input additional information regarding the leave. There are no text formatting options on this field. |
Additional Information
The New Version (Calendar Icon) is not active on this Tab.
Use the Delete (X) button to remove existing LoA entries.
Select the LoA Entry to be deleted and click the Delete button.
A ReadyPay Payroll Dialogue Box is displayed.

Click Yes to complete the deletion.
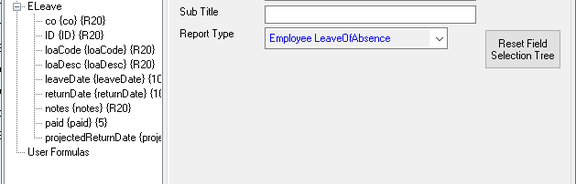
Use the Employee LeaveOfAbsence Report Type in Report Writer for reporting on the data in the LOA tab.