Transfer Employees in ReadyPay
Overview
The Transfer Employees function allows you to copy existing employees from one company code into another company code.
The Transfer Employees function allows you to specify which data you want to transfer to the employee being created.
You can only transfer one employee at a time.
Payroll history does not and cannot be transferred.
How to use the Employee Transfers function
Access the Transfer Employees function via the Tree View. Go to the company to which the employees are to be transferred. This will be your Destination Company.
Click the plus (+) sign next to the company code. Next, click the plus (+) next to Employees.
Above the list of employees will be the Add New Employees and Transfer Employees options.

Select Transfer Employees.
This will display a screen called Import Employee. The company code where the employees are to be transferred to is displayed on the upper right of the screen.
The Import Employee screen is divided into three sections:
- Source: The FROM function — used to pick where the employees are to be transferred FROM.
- New Employee: The TO function — determines where the employee will be transferred TO.
- Import Options: The WHAT function — determines WHAT data will be transferred from the existing employee and applied to the employee being created in the Destination Company.

Source Section

- Source Company: Type or use the Drop Arrow to select the company where the employees to be transferred are currently found.
- Employee ID: There are three fields you must work with when doing an employee transfer.
The blank field to the right of the words Employee ID is used to enter an employee id search value. This will provide a list of employees in the source company that match your entry. Otherwise, you cannot select the employee to transfer. Leaving this field blank will result in this warning:

Once you enter a value in the employee id field, select Filter Employees. This will populate the drop list between the Employee Id field and the Filter Employees button. Click the drop list to see a list of employee ids that match your criteria.
Example: if you enter a 1 then click Filter Employees, any employee with an id beginning with 1 will be available to select in the Drop List.
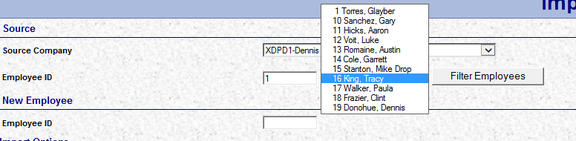
Select the employee you wish to transfer from the drop list. This fills in the field with the chosen employee id.

New Employee
The Employee Id field must be entered, even if it is not changing. A different employee id can be entered.
There is no issue with leading spaces in this routine. Based on the example, you would enter 16 if the employee id isn't being changed.
Import Options
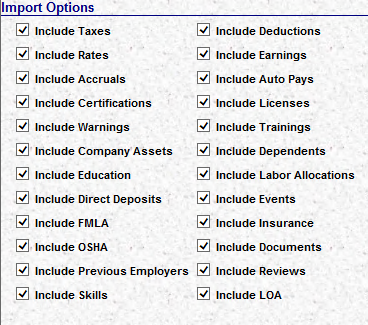
The default for this section is to copy all options.
Remove the check next to any item you do not wish transferred to the new employee.
Review your settings. Once you are satisfied, click the ImportEmployee button.
![]()
An ActiveX window will display.
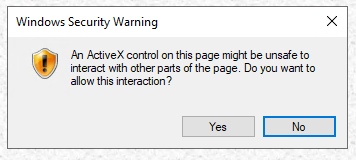
If the SSN of the newly transferred employee exists in the destination company, you are warned but can proceed.
Press F5 to refresh your view. Your employee should be available in the employee list of the destination company.
Caveats
There is an option to navigate to the Transfer Employees function in the drop list next to the Employees icon.

This option currently does not work. Navigation to the Employee Transfer is only achieved in the Tree View.
If the employee id you select exists in the destination company, the ImportEmployee function does nothing. You are not advised that this is an issue.